What You Should Know About How Wovenpanel™ is Made Guide
What You Should Know About How Wovenpanel™ is Made (Guide)
Archant is proud to be offering our unique decorative surface we call Wovenpanel™. We’ve seen it used in incredible ways, transforming spaces both residential and commercial. And while it looks beautiful and is easy to clean, we wanted to give potential customers more background on how this amazing product is made.
The Basic Process of Pre-Crimped Woven Wire Mesh
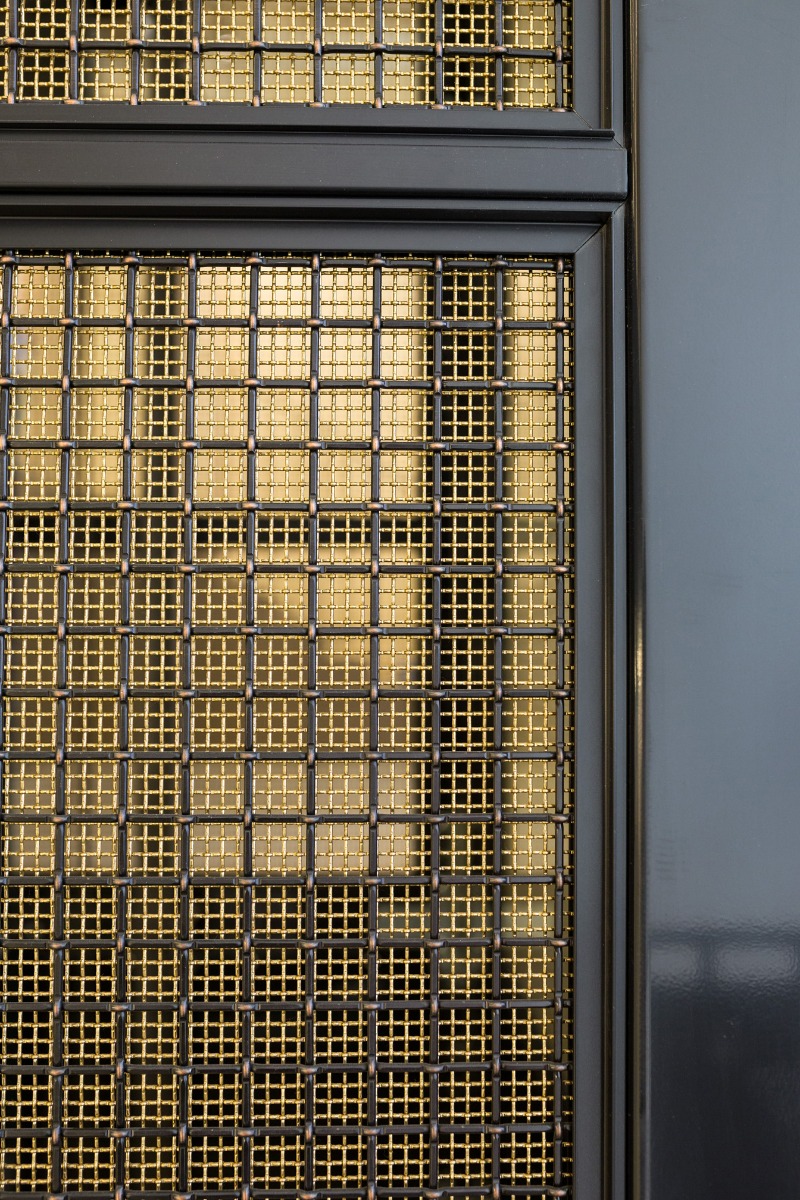
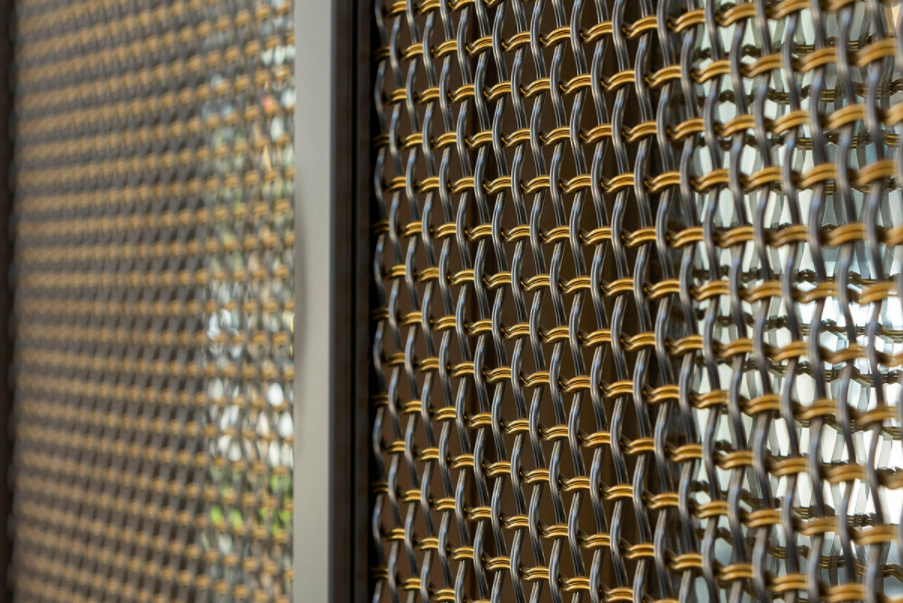
For starters, Wovenpanel™ is pre-crimped woven wire mesh. The crimping is done before weaving them together into what’s called a “loom” otherwise referred to as a panel. This crimping process has been refined over many years with a variety of styles and methods being used. During this time the outcome has become more efficient with function and aesthetics being improved upon.
Part of the benefit to crimping is apparent in larger spaced wire mesh. The process provides added stability. The ability to create consistently durable and beautiful panels makes Wovenpanel™ reliable for projects both big and small.
So how is wire mesh manufactured on a loom? The process starts with individual lengths of wires being sent through a crimper. The long wires, also known as “warp wires” and the fill wires (cross wires are positioned through the loom’s heddle frames. This heddle frame is important as it works to create the “shed”. This is where the long and cross wires undergo the over/under sequence to create the mesh.
What Are Crimp Styles?
As noted above, to consistently create the highest quality woven mesh, this crimping process is essential. Architectural mesh is an innovative product. At Archant, we’re constantly exploring new ways to offer a world-class design surface. At the time of this writing, there are eight styles of crimping available. Plain, Lock, Intercrimp, Flat Top, Triple Shoot, Rigid Cable, Helix, and Twill. These styles are just the starting point, however. They can be combined and modified to create nearly endless designs, textures, and opacity.
In a nutshell, the variety of crimping styles and methods used in achieving Wovenpanel’s™ unique aesthetic can alter the shape of the wire.
Here is a summary of the main types:
- Plain - is a simple zigzag style of crimping
- Lock – features straight sections of woven wire connected by a well-defined bump where the wire intersects
- Flat Top - a smooth plane where all the wire surfaces are flush with one another to give a flat appearance
- Intercrimp – like the plain crimp except the wire intersections occur only at every intersection
- Triple Shute - long sections of straight wire connected by groupings of three plain crimp pockets of woven wire
- Rigid Cable - clusters of 2, 3, or 4 wires spaced tightly together with no gaps between adjacent wires
- Helix - smooth lines created by the spiral-shaped wires give this mesh a soft and tranquil look and feel
- Twill - allows for a tighter mesh to diameter ratio which reduces the need to form the wire beyond its physical limitations
Base Materials
It should be noted that Wovenpanel™ can be crafted from a variety of generic metals. All of these will of course give the mesh different weights based on the material being used. Some of the options are plain steel, aluminium, stainless steel, copper, bronze, brass, and nickel.
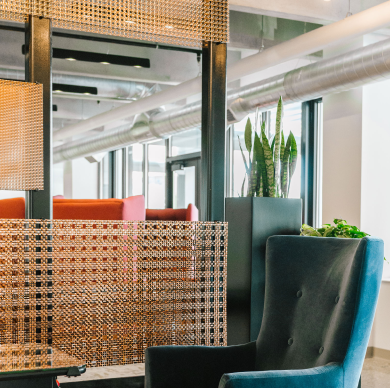
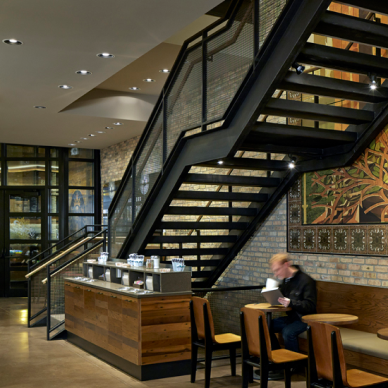
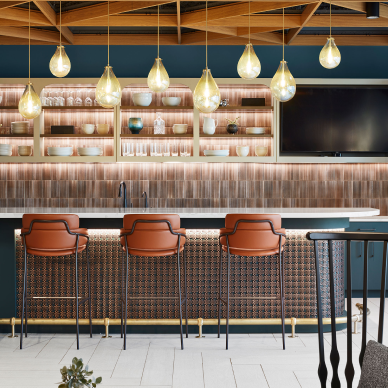
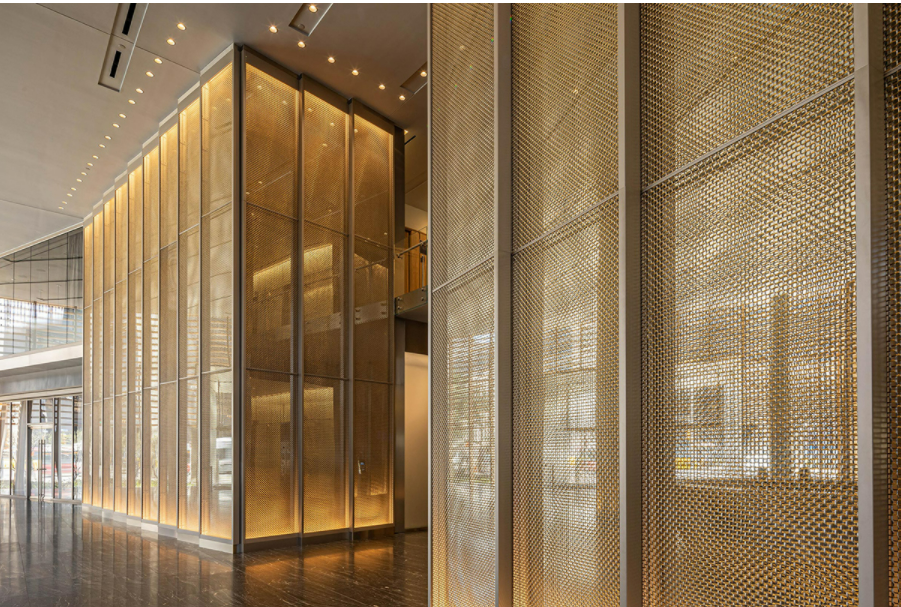
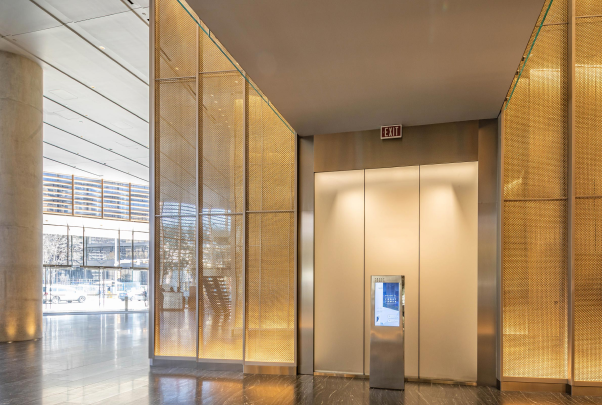
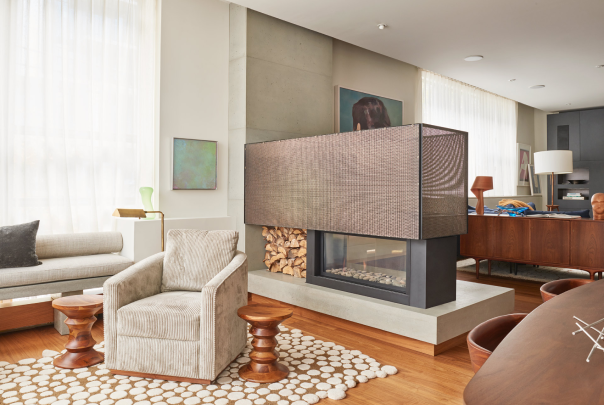
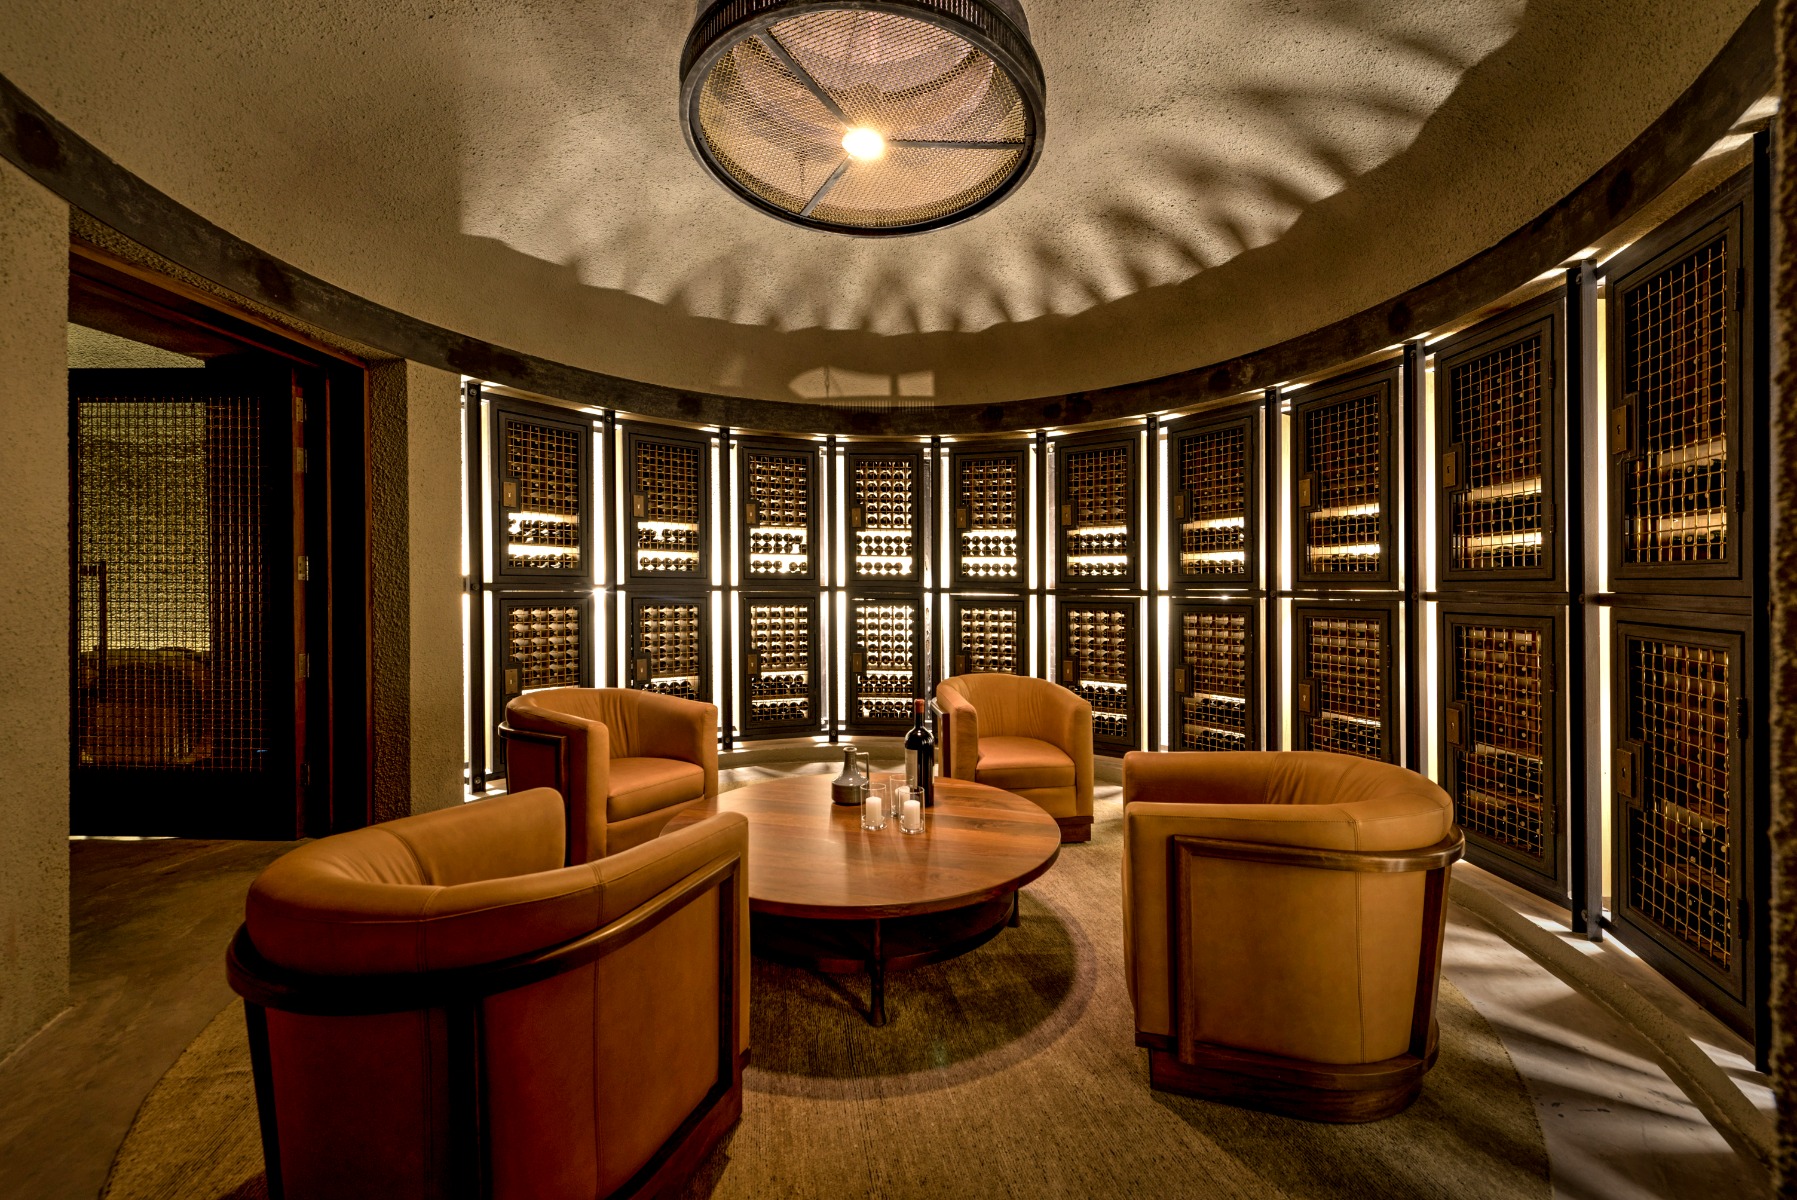
Examples of How Wovenpanel™ is Being Used
Before diving back into the technical details of how Wovenpanel™ is made, you may want to look at how designers and architects are using it. Start with our article:
You may also want to check out the cost associated with purchasing and installing it in your space.
And for those who want to know about the best way to clean and maintain Wovenpanel™ you’ll be pleased to learn how easy it is.
A Word About Wire Spacing
Let’s now turn our attention back to the details of how this product is created. Wire spacing or mesh distance can be defined either as a measured distance expressed in inches or as the number of openings per lineal inch expressed as a count. To get a better feel for how this works it helps to consider the following:
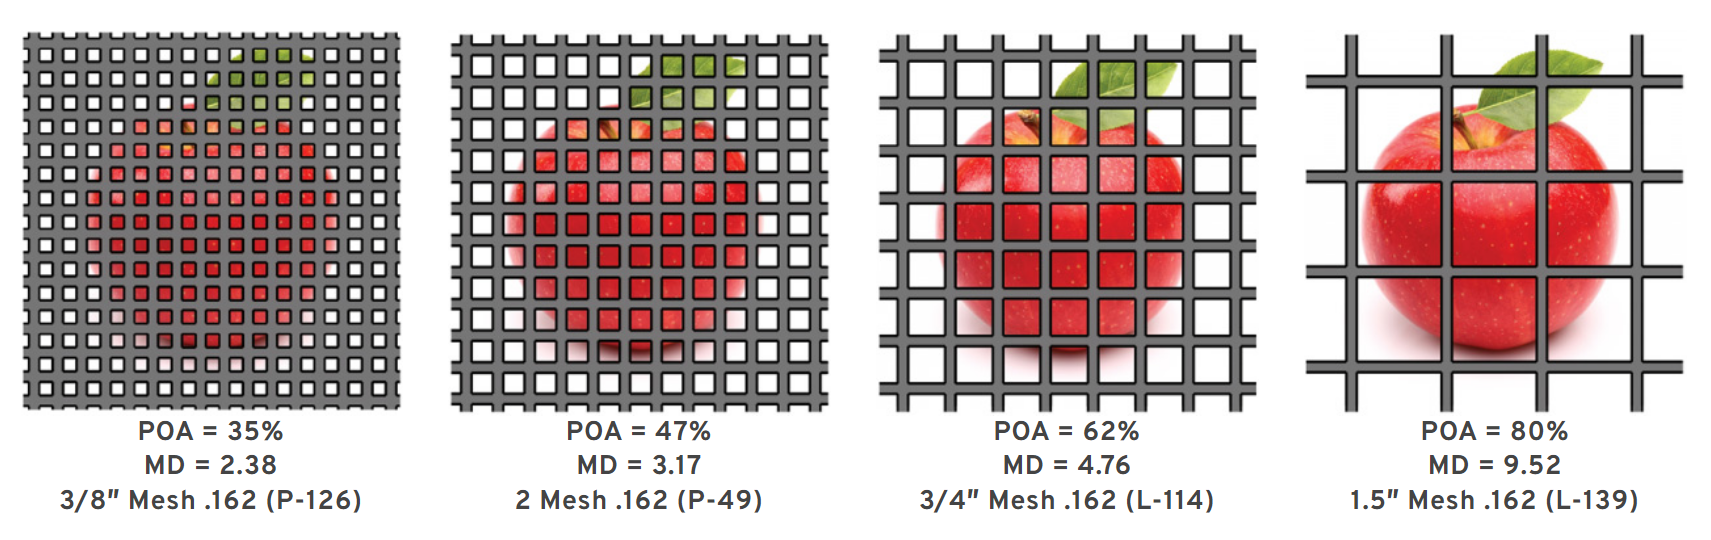
Percent Open Area (POA)
This is the ratio of hole area to the total screen area. Being aware of this POA will help when comparing how easily objects, air, and light, will pass through the screen. See the image below to better visualise the different models of transparency.
Mesh to Diameter Ratio (MD)
This is the actual spacing of the mesh divided by the wire diameter. This is helpful to determine the optimal crimp style for your design. to use in the various mesh to diameter relationship scenarios. With a lower MD ratio, the mesh will appear denser. With a higher MD ratio, the mesh will have less heft.
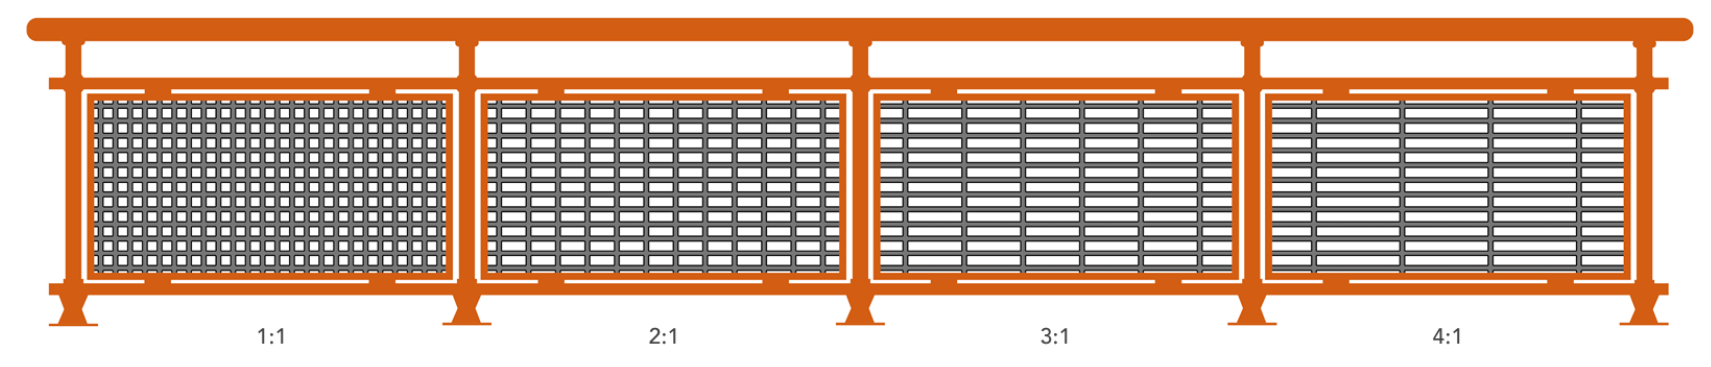
Aspect Ratio
This is a useful way to characterize materials that have slotted openings or rectangular repeat patterns. It measures the larger pattern repeat distance to the smaller pattern repeat distance. Below are four different aspect ratios to help you visualise the difference.
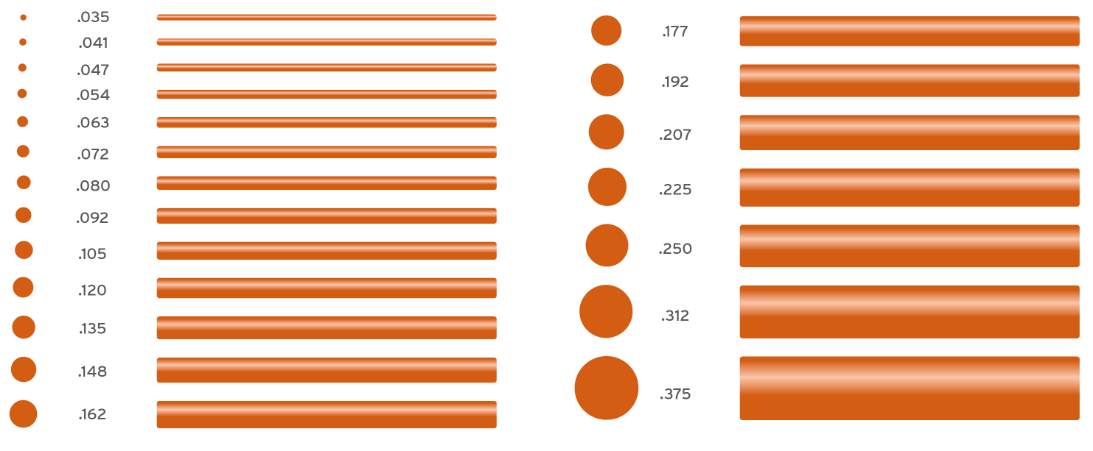
Wire Diameter
To best determine the thickness of the mesh, it’s recommended to note the wire diameter as opposed to the gauge. This will help you determine the exact requirements for the desired style you want to create. Standard wire diameters used are as shown in this graphic.
Next Steps
Now that you know the ins and outs of how Wovenpanel™ is made, you may be wondering how to use it in your own space. Here are some ways to get started.
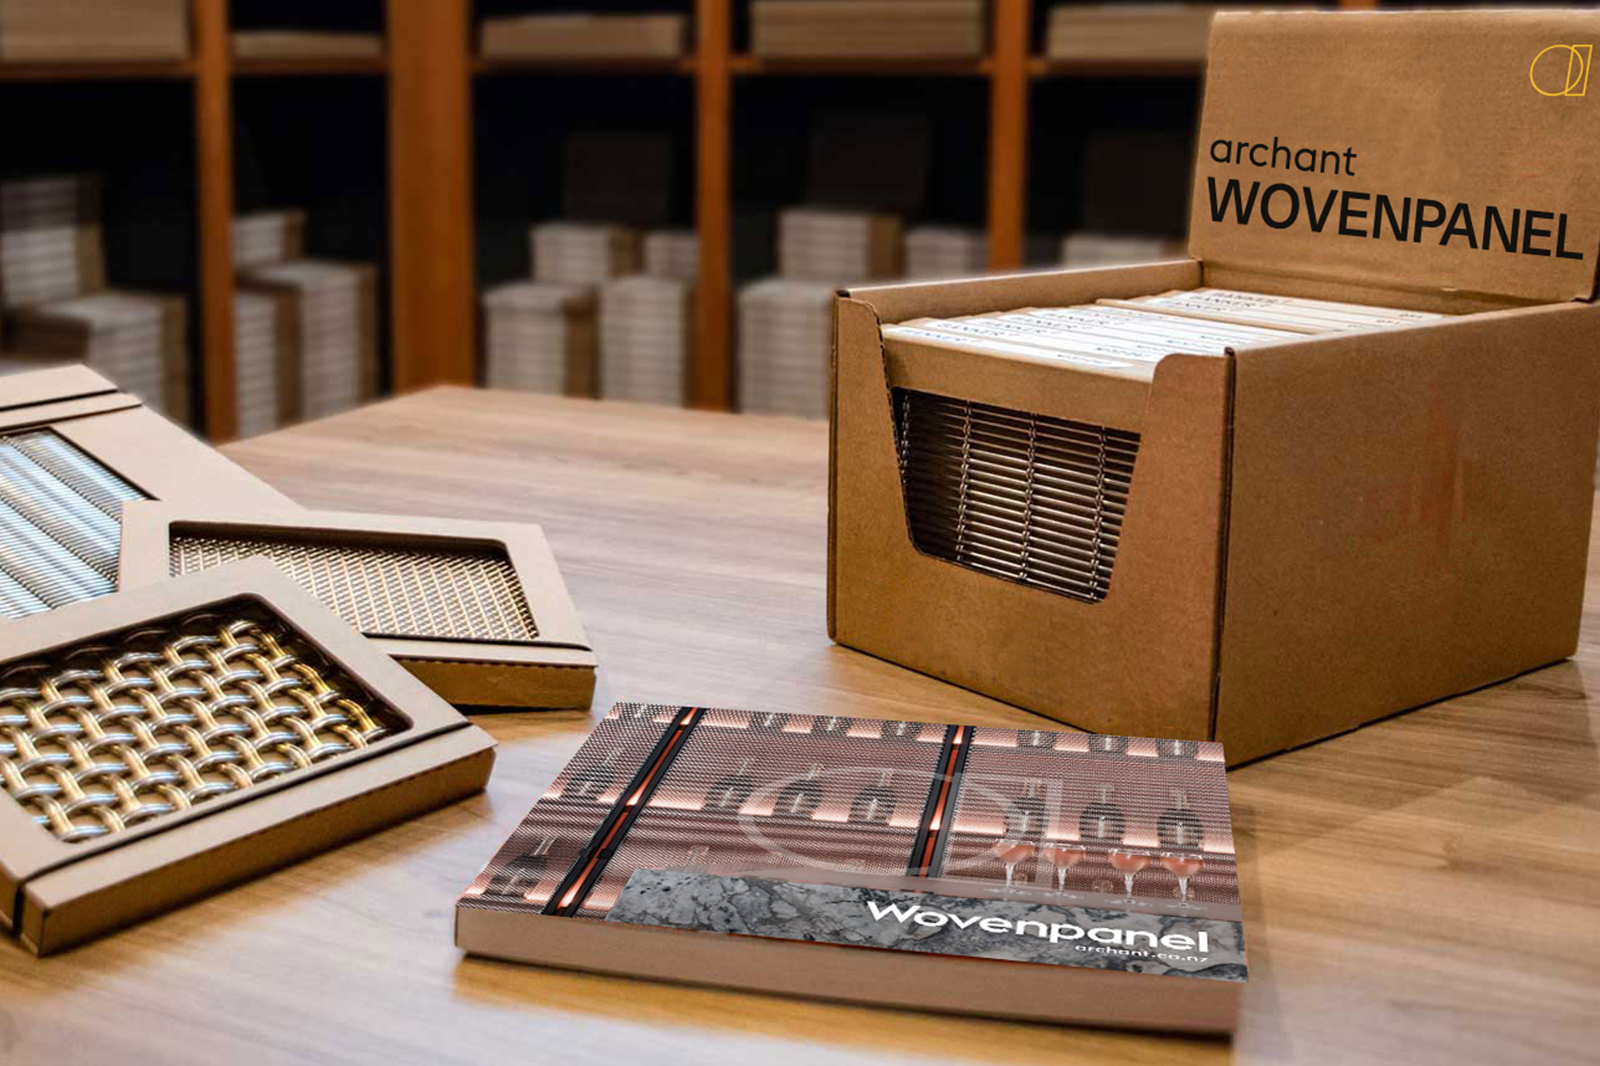
Order Wovenpanel™ Samples Online
Did you know our Wovenpanel™ single samples and sample boxes are available to purchase from our website?
You can also view these samples or full sheets for free in our Showrooms or via our sales team.
Request a Quote
Archant provides an end-to-end fabrication and installation offer to ensure you have peace of mind that your Wovenpanelᵀᴹ will be fabricated and installed to the highest quality. Simply send us your design drawings to receive a quote.
Our Wovenpanelᵀᴹ specialists will use your design to calculate the amount of material required and the cost of fabrication and installation (if required) to provide you with an installed quotation.
Wovenpanel™ is stocked in Hawke’s Bay for a timely and convenient installation process. Once the quote is approved, we generally see a 10-day lead time. For larger projects that require more than ten square metres, we recommend contacting us 10-12 weeks in advance of your desired installation date.