How to Take Great Photos of Your Interior Design Project
How to Take Great Photos of Your Interior Design Project
What are the secrets of great photography? When people see beautiful photos of an interior, they sometimes ask the photographer what camera was used to create it. Yet the truth is, it’s not about the model being used or how many megapixels it has. Beautiful photography comes from the person standing behind the device, not the technical specs it offers. Whether you’re using a phone or a professional DSLR style camera, it’s ultimately your vision that makes the difference. Here are seven key tips to help you level up on your photography skills.
1) Less is More
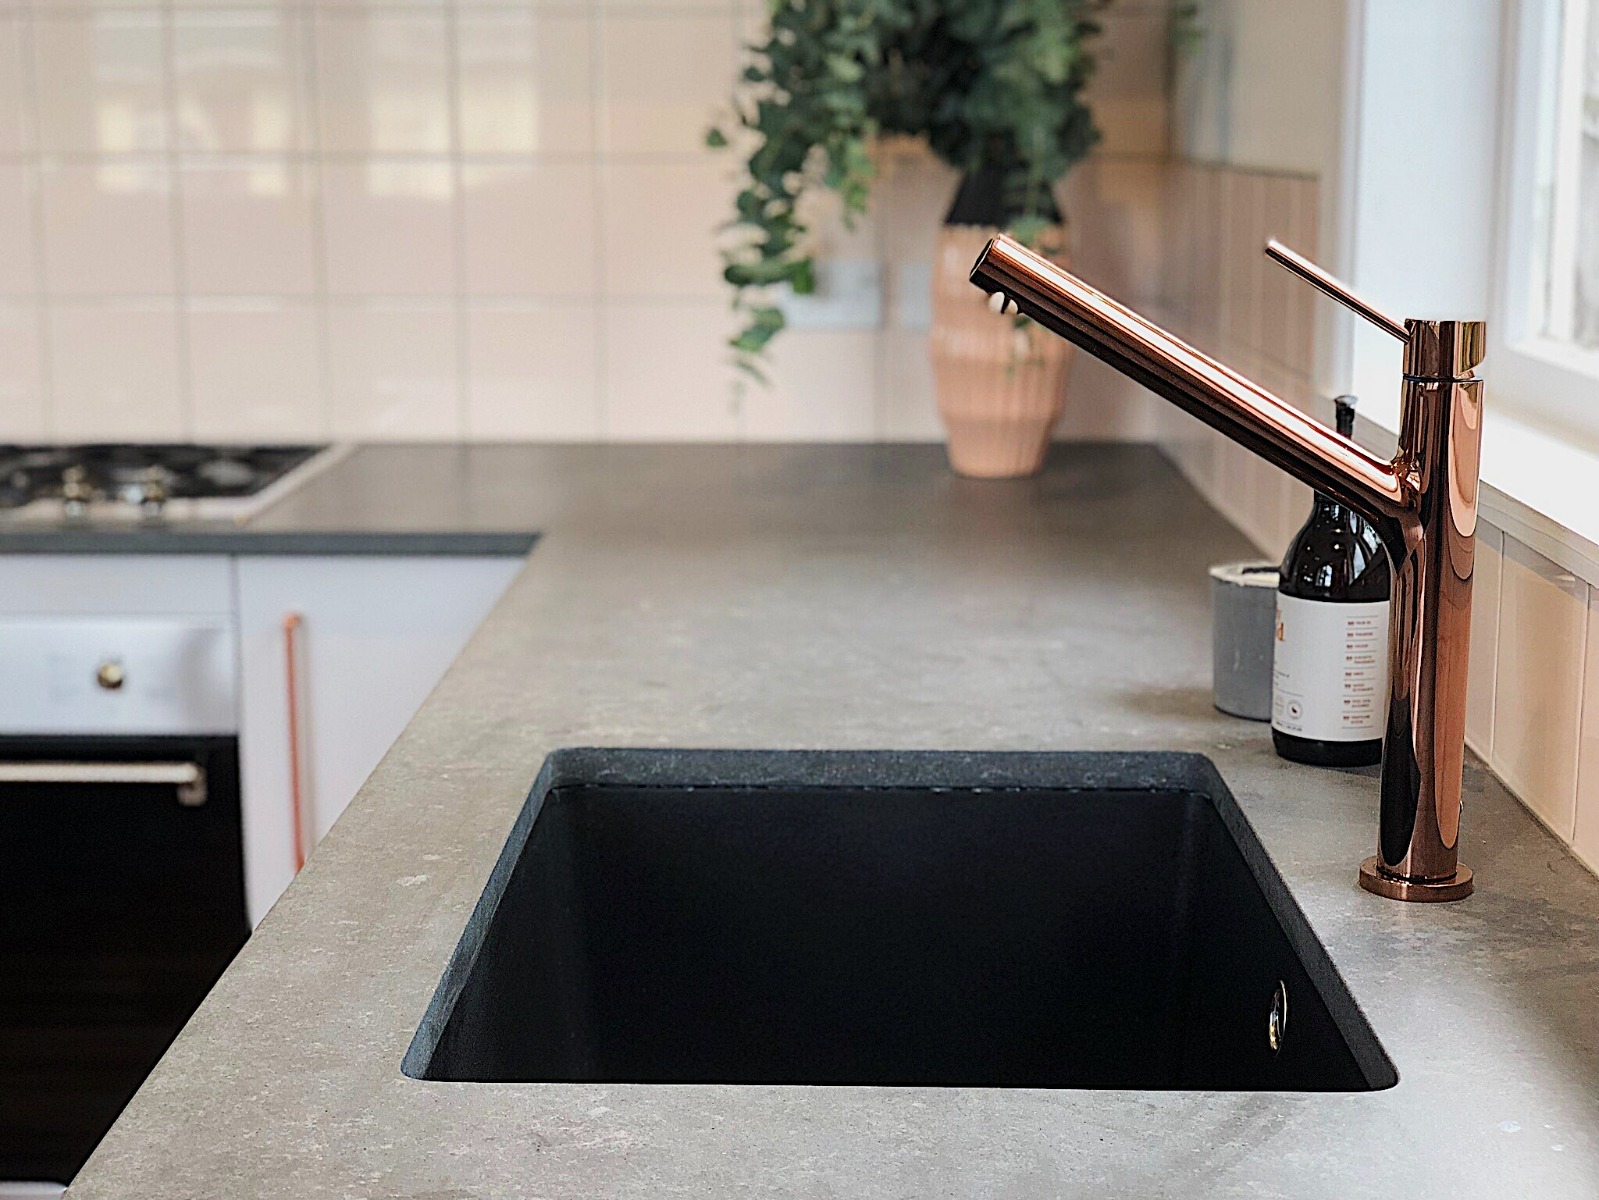
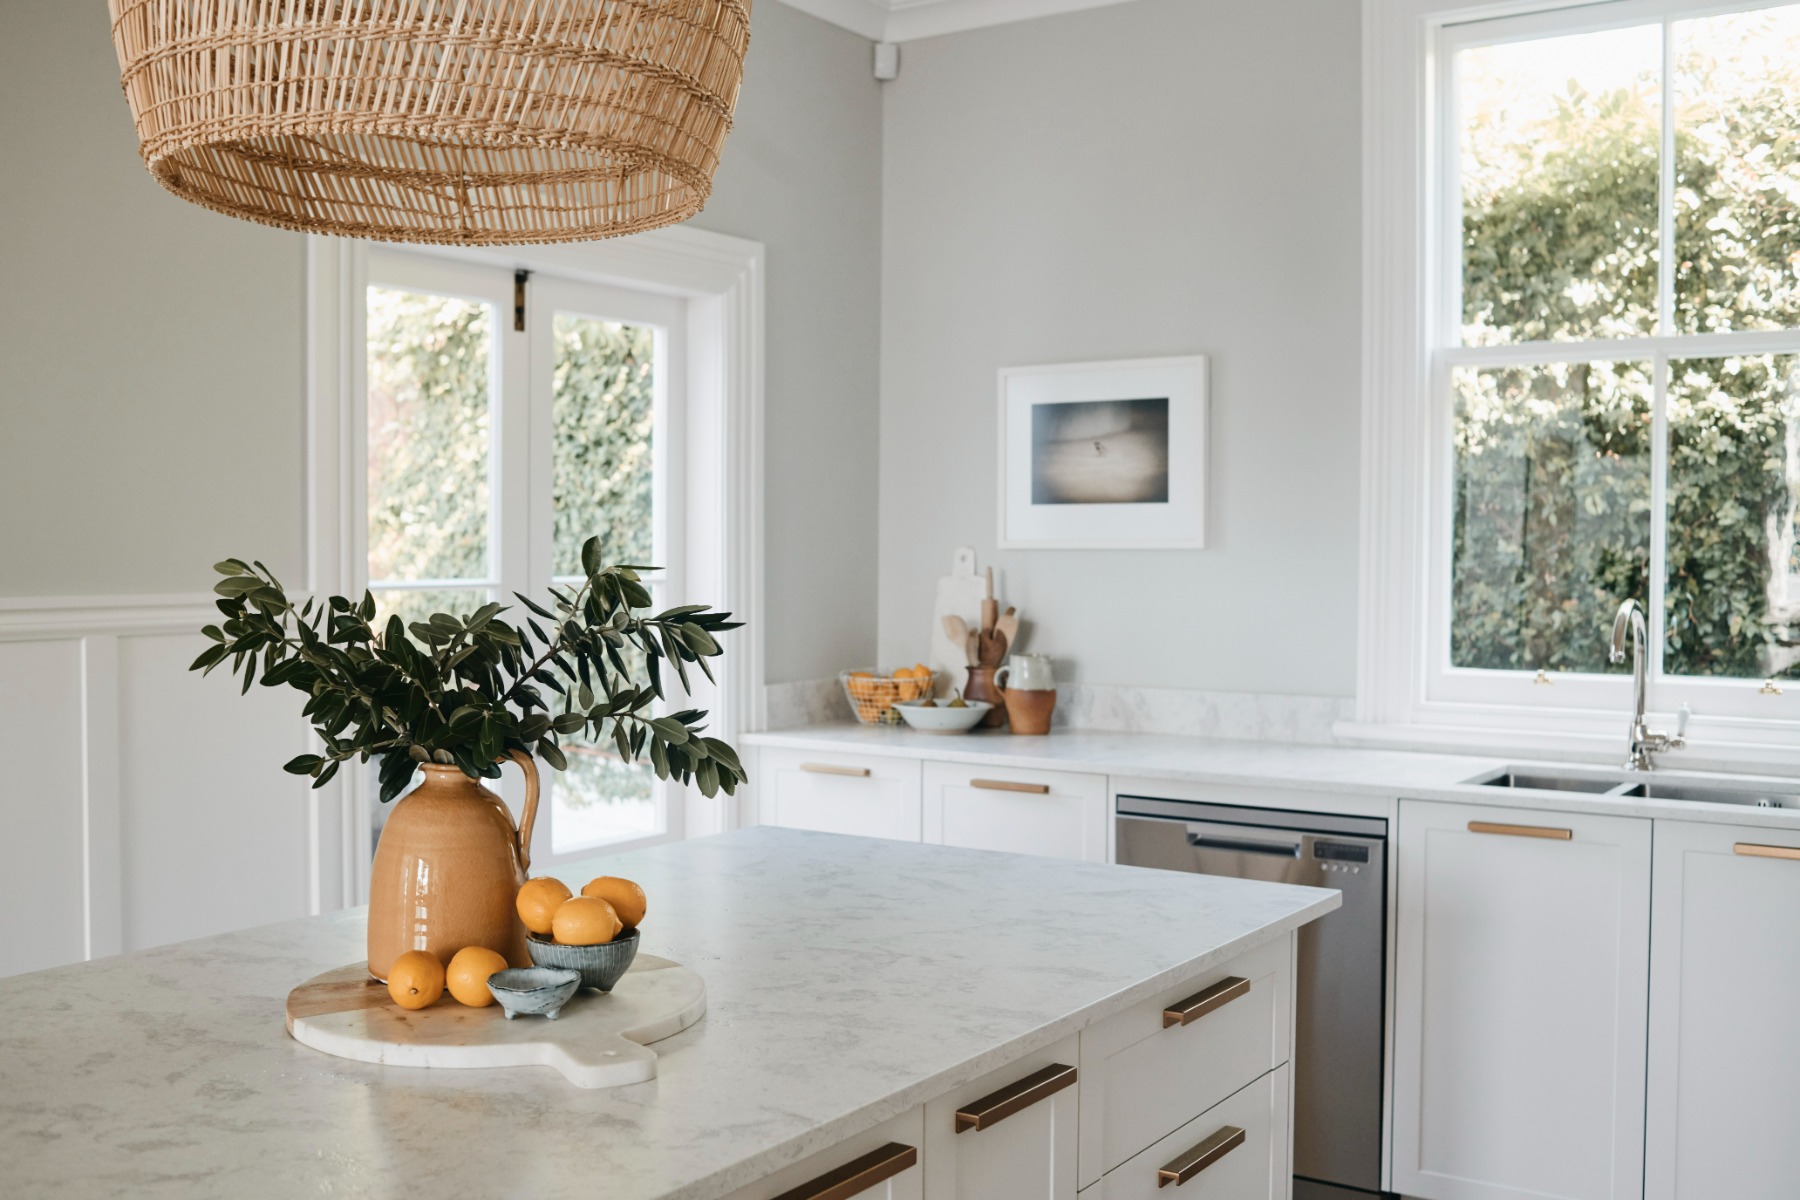
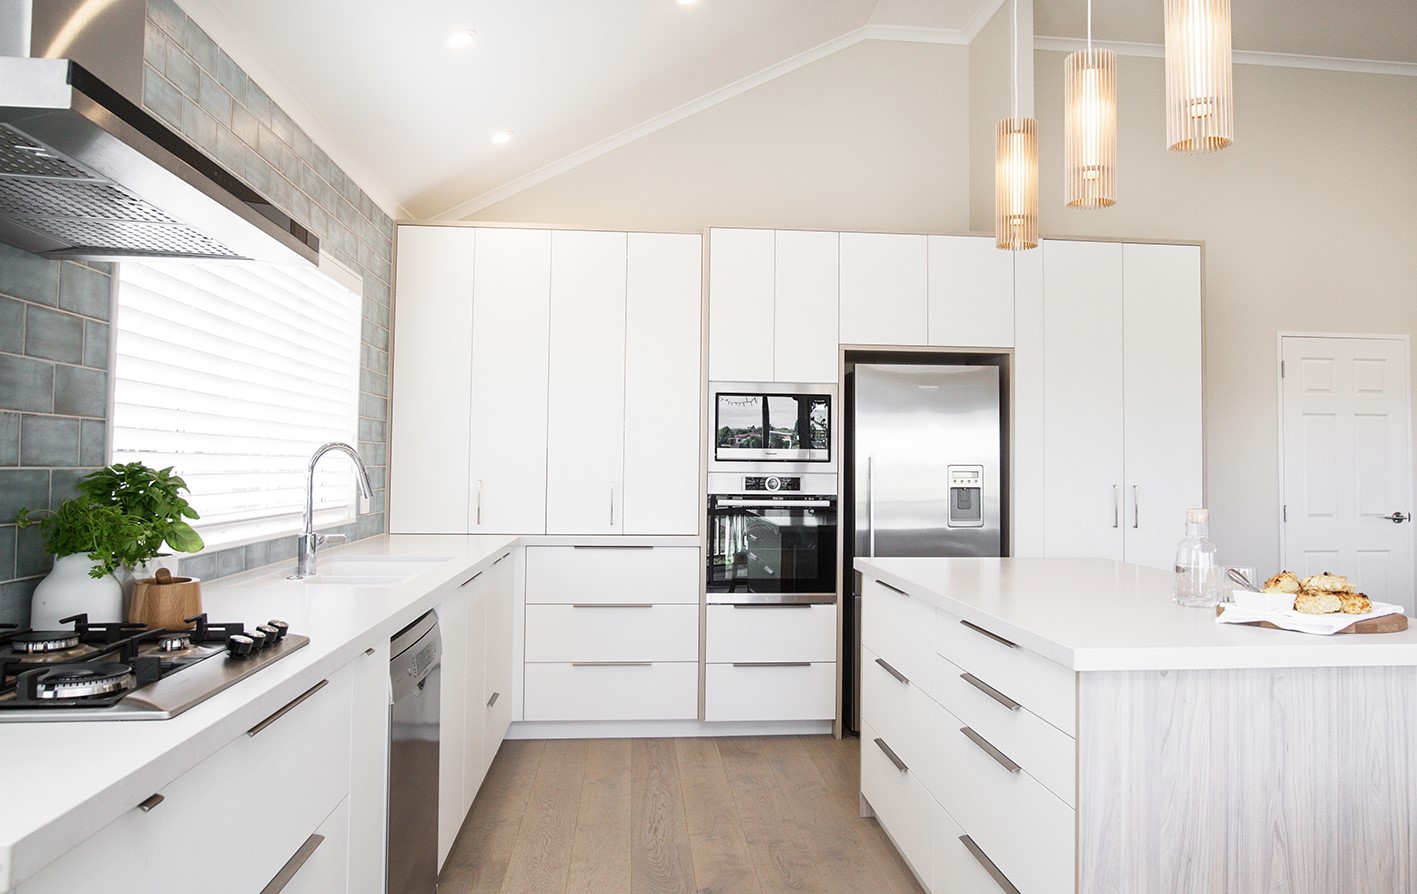
Think of photography as a process of elimination. Rather than trying to fill the photo with lots of detail, it’s preferable to show less. When you eliminate unnecessary elements, the photo has more impact. By simplifying, the viewer’s eye is drawn to the important aspects of the space. To do this, ask yourself, “What’s really my subject here?” If it’s the benchtop or kitchen island, you can compose your shot accordingly. Pay attention to the little details. Are there visible wires, a handbag, or a package of biscuits on the benchtop? Take a moment to remove them, and the quality of the photo will increase dramatically. You can add small pops of colour like a floral bouquet if desired. Just remember, when it comes to great interior design photography, less is often more.
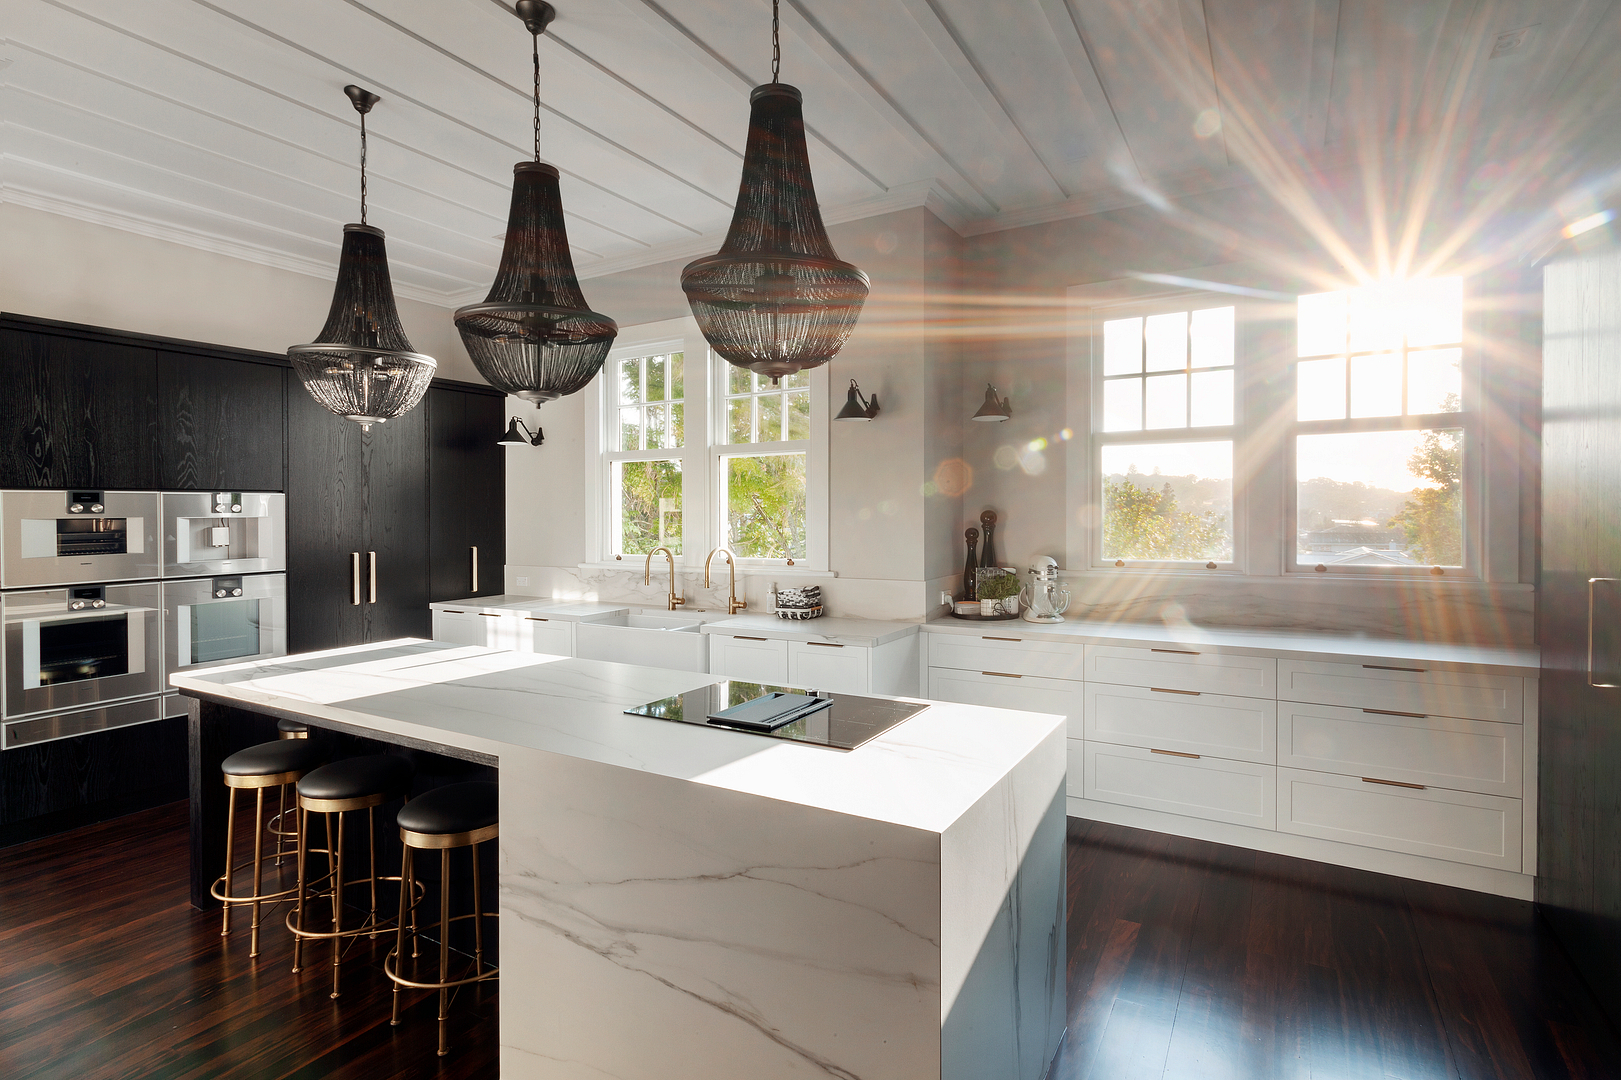
2) Consider the Time of Day
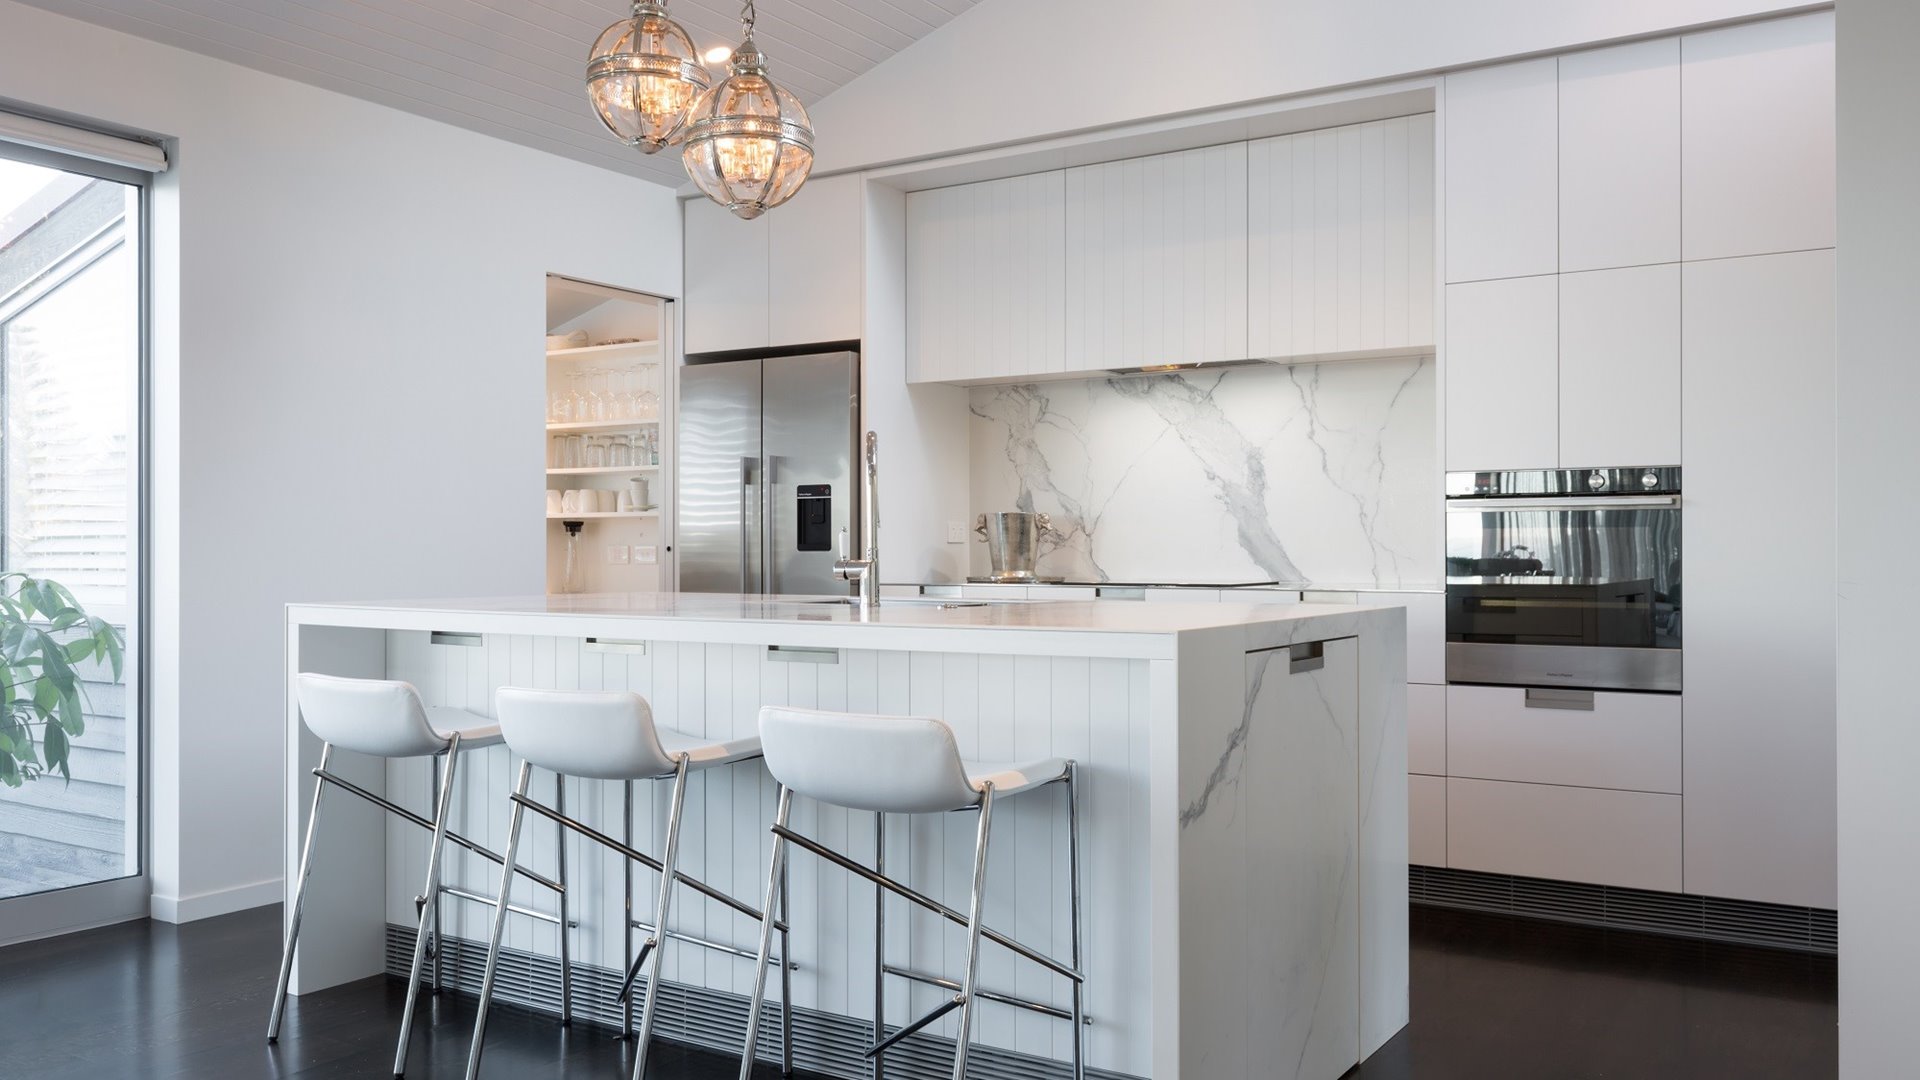
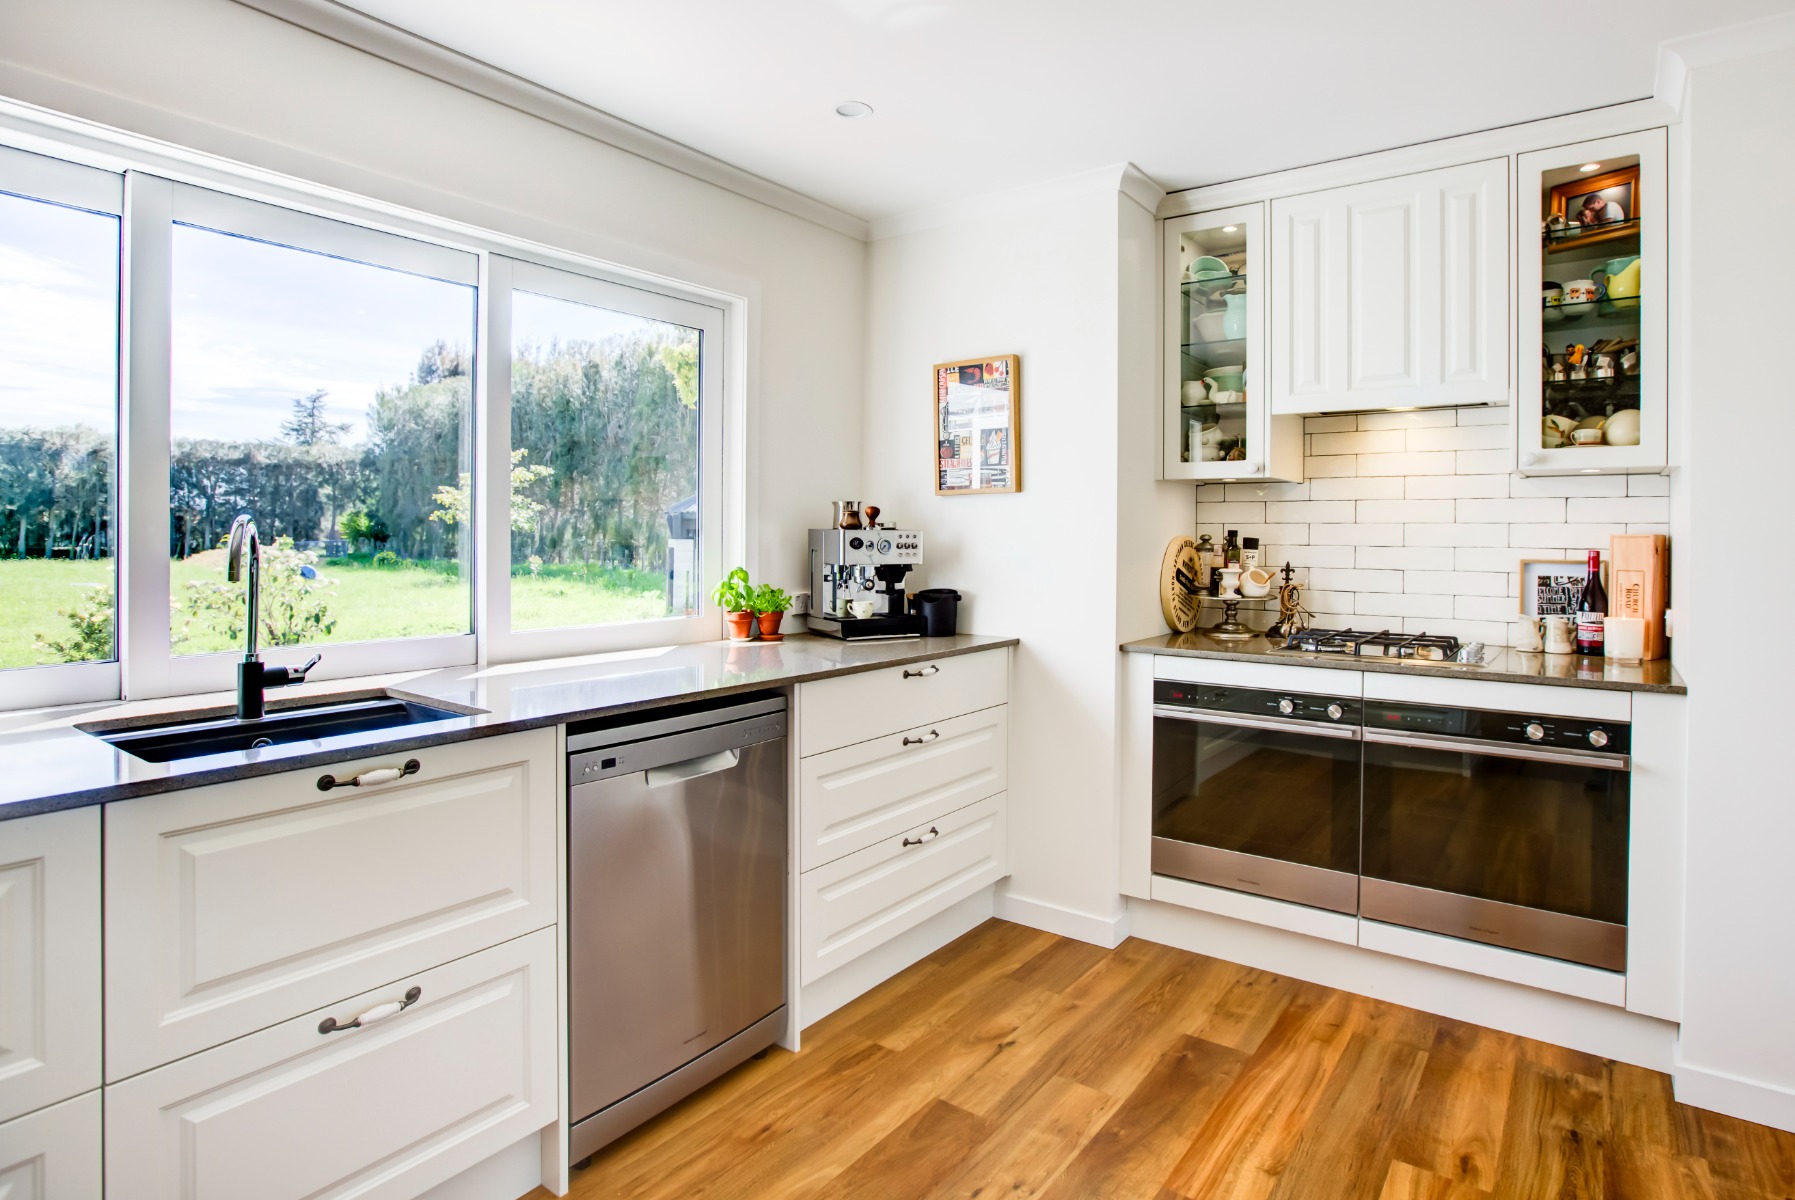
Photography is all about writing with light. The time of day, therefore, plays a big part in the quality of that light. As the homeowner, you are likely aware of how the sun interacts with your space. If you routinely find harsh shadows and highlights in the afternoon, consider the early morning or evening instead. During these times, the sun is lower in the sky which creates less contrast. This will benefit the photo the lighting will be more even and flattering overall. As a bonus, your interior illumination will show up more prominently as well. Be sure to flip on any stylish fixtures as they will add warmth and ambience to the room.
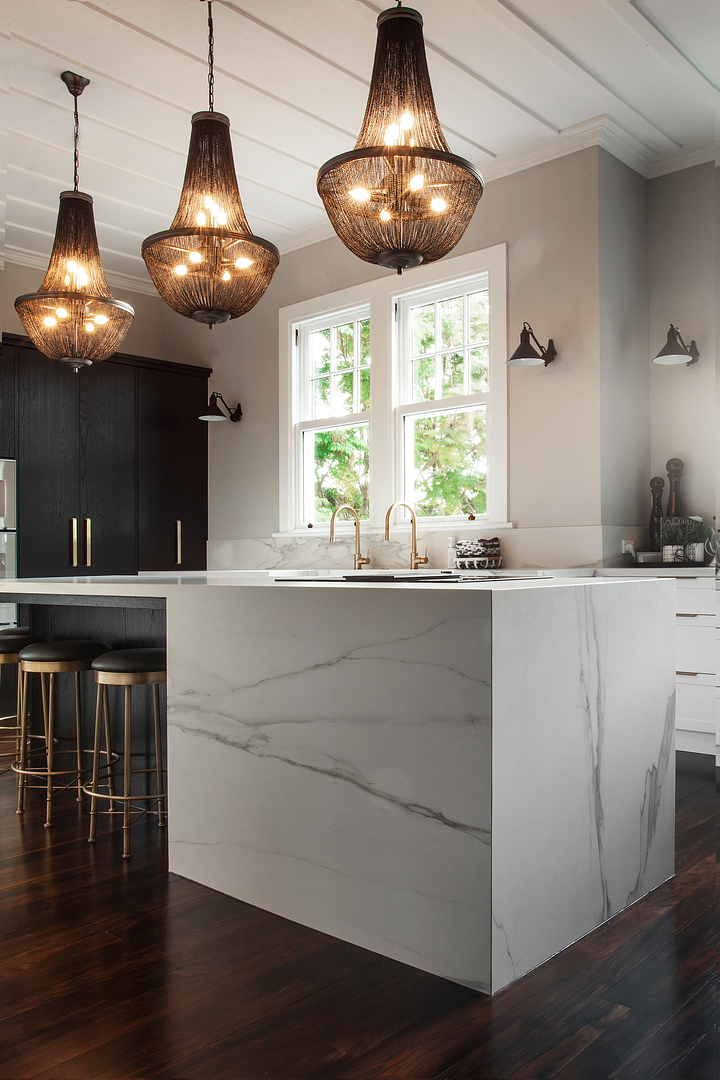
3) Capture it Both Ways
Since you hold your phone upright most of the time, many people capture their images in a vertical orientation. This is perfectly acceptable, but we encourage you to also work in a horizontal format. Yes, by turning the phone on its side, you will create an entirely different perspective. Many times, this horizontal orientation is ideal for highlighting the layout of a space. It allows for more context and lets the viewer feel as if they can walk into the room. By shooting both ways, you open a whole new world of possibility.
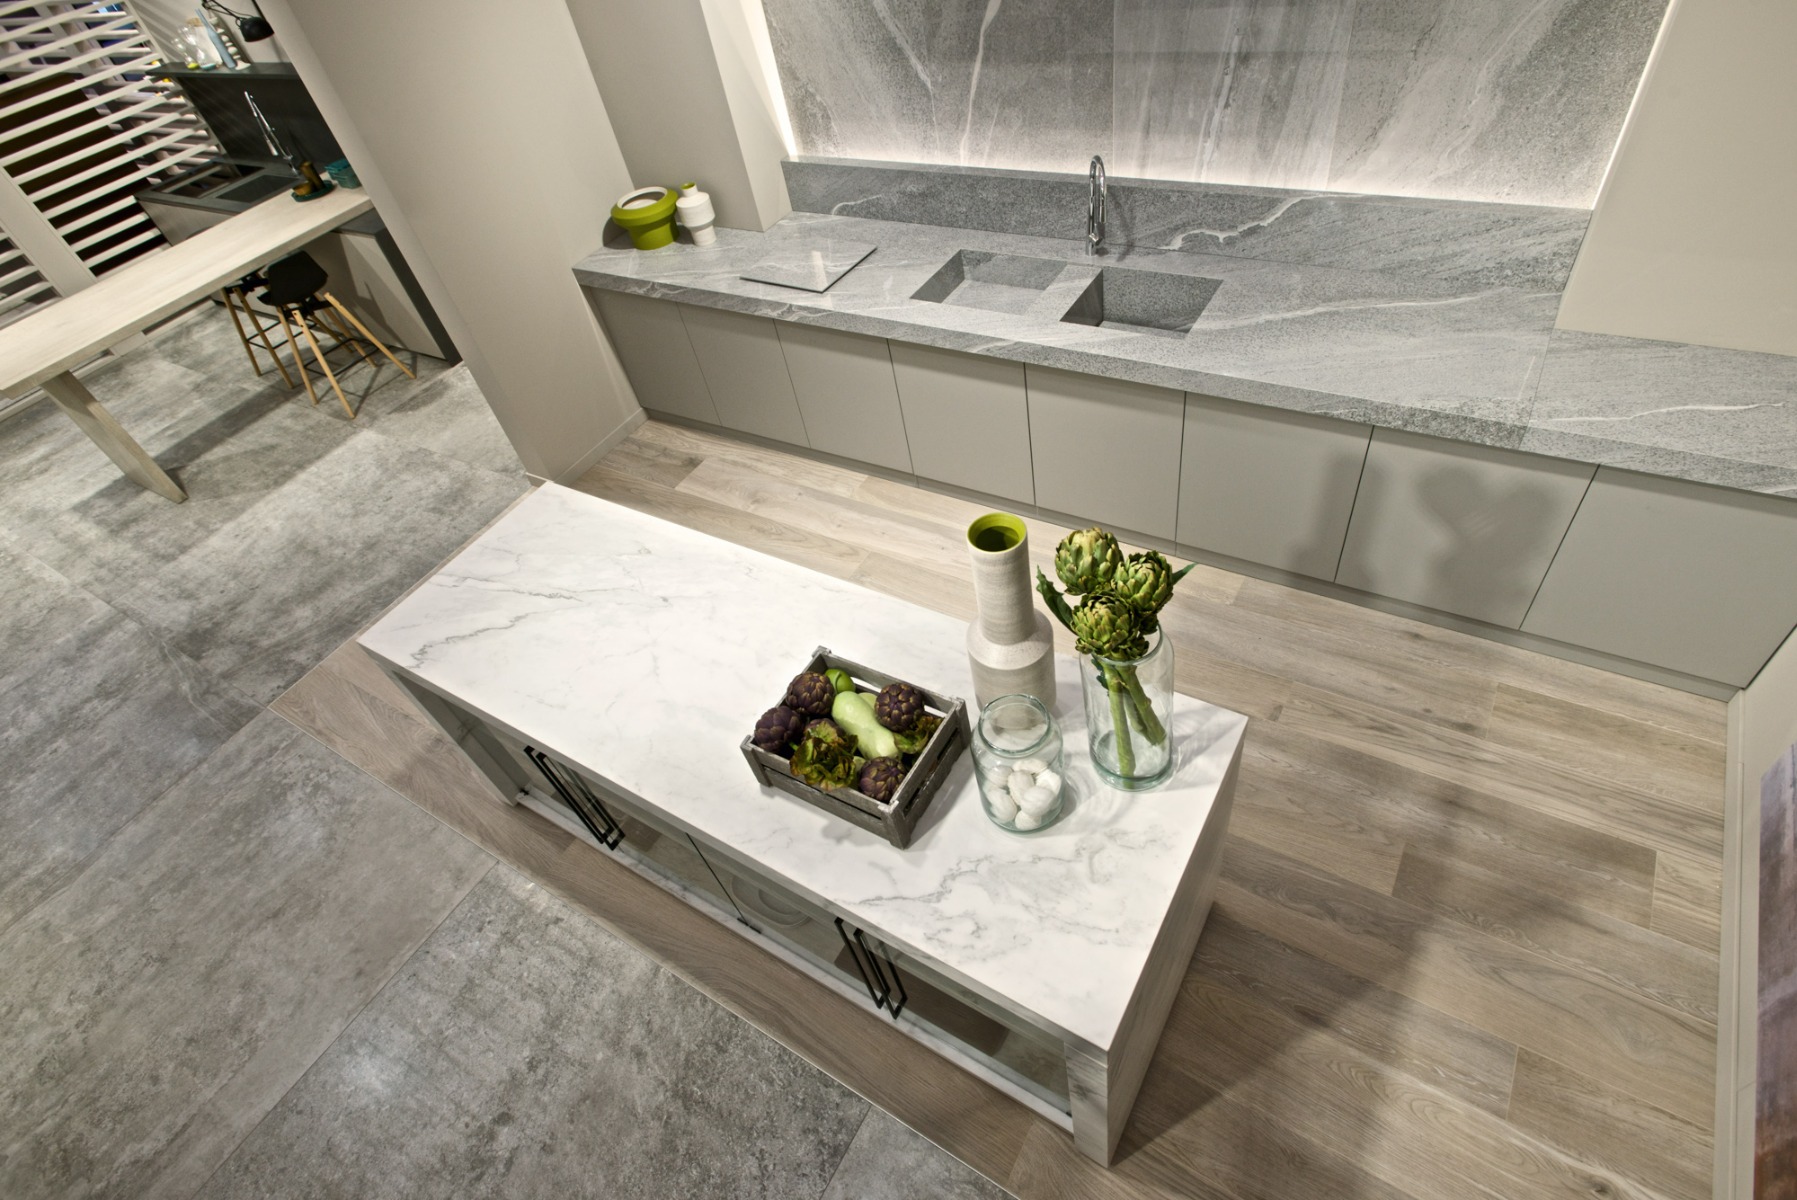
4) Try Different Angles
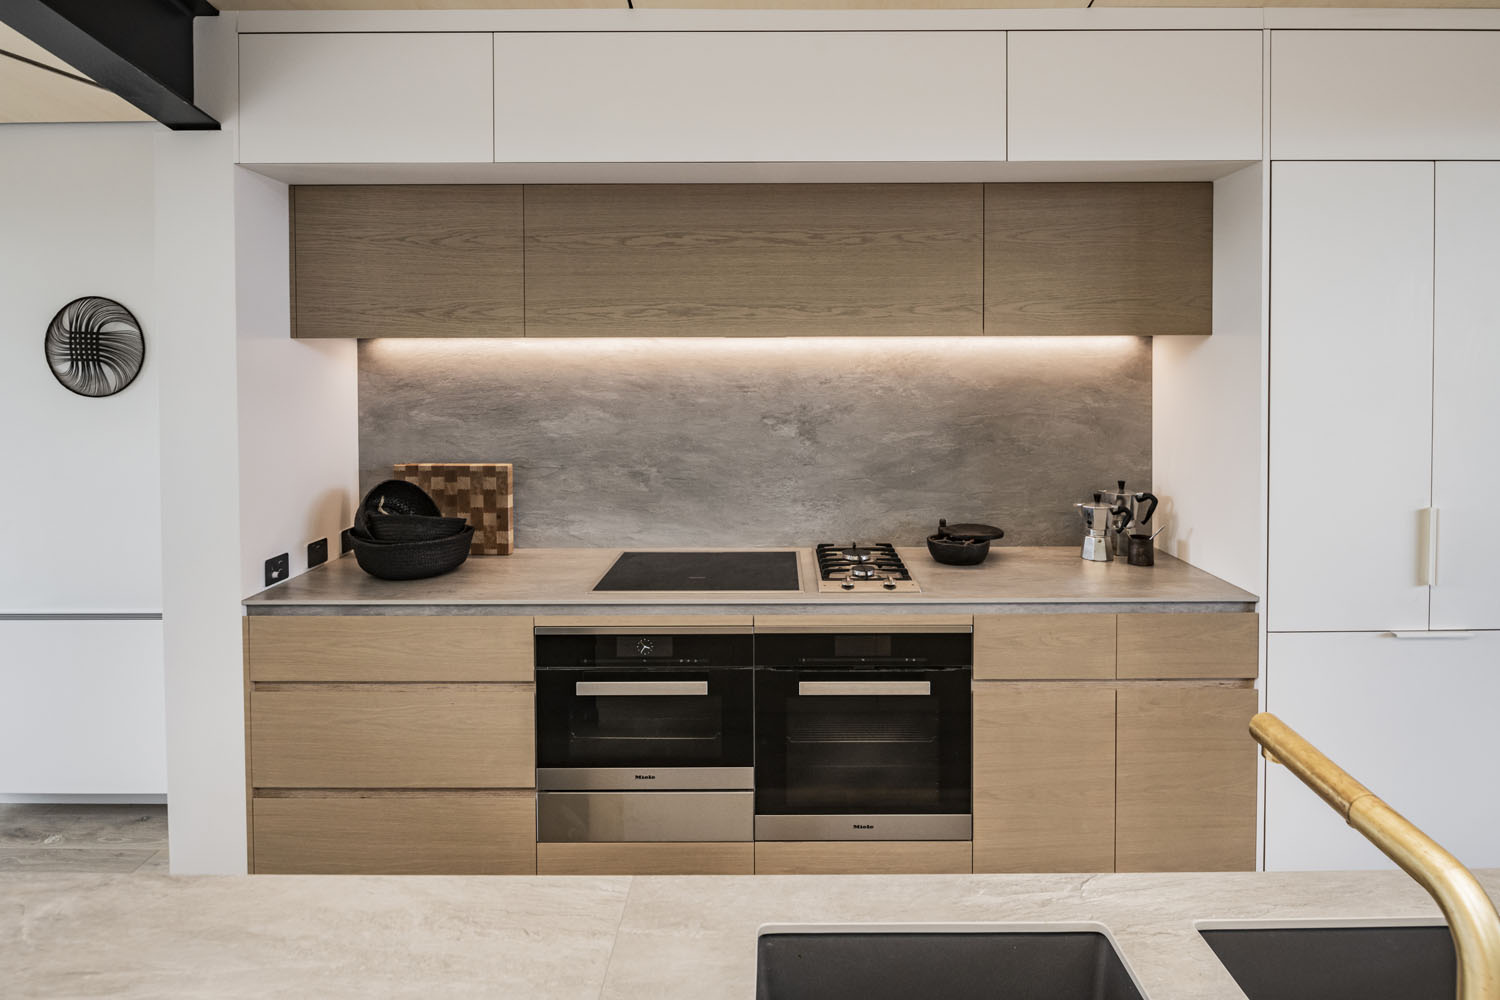
Professional photographers call this “composing with your feet”. Instead of just standing in one place snapping photos, you walk around to seek new and exciting points of view. When you get down low and angle the camera towards the ceiling, the room can feel more expansive. Alternatively, you can use a step stool or a small ladder to achieve a raised perspective. Maybe by positioning yourself just beyond the door frame you’ll find a unique angle. As you do this, feel free to experiment with the focal length. Start with a wide-angle (default) lens, and then try zooming in on smaller details like cabinet handles, or ornate architectural elements. By capturing all these elements, you will have a more complete visual representation of your space. To truly capture the essence of a home, it’s helpful to think of yourself as a photojournalist. Don’t aim to just take photos, but to tell stories.
5) Add a Pop of Colour
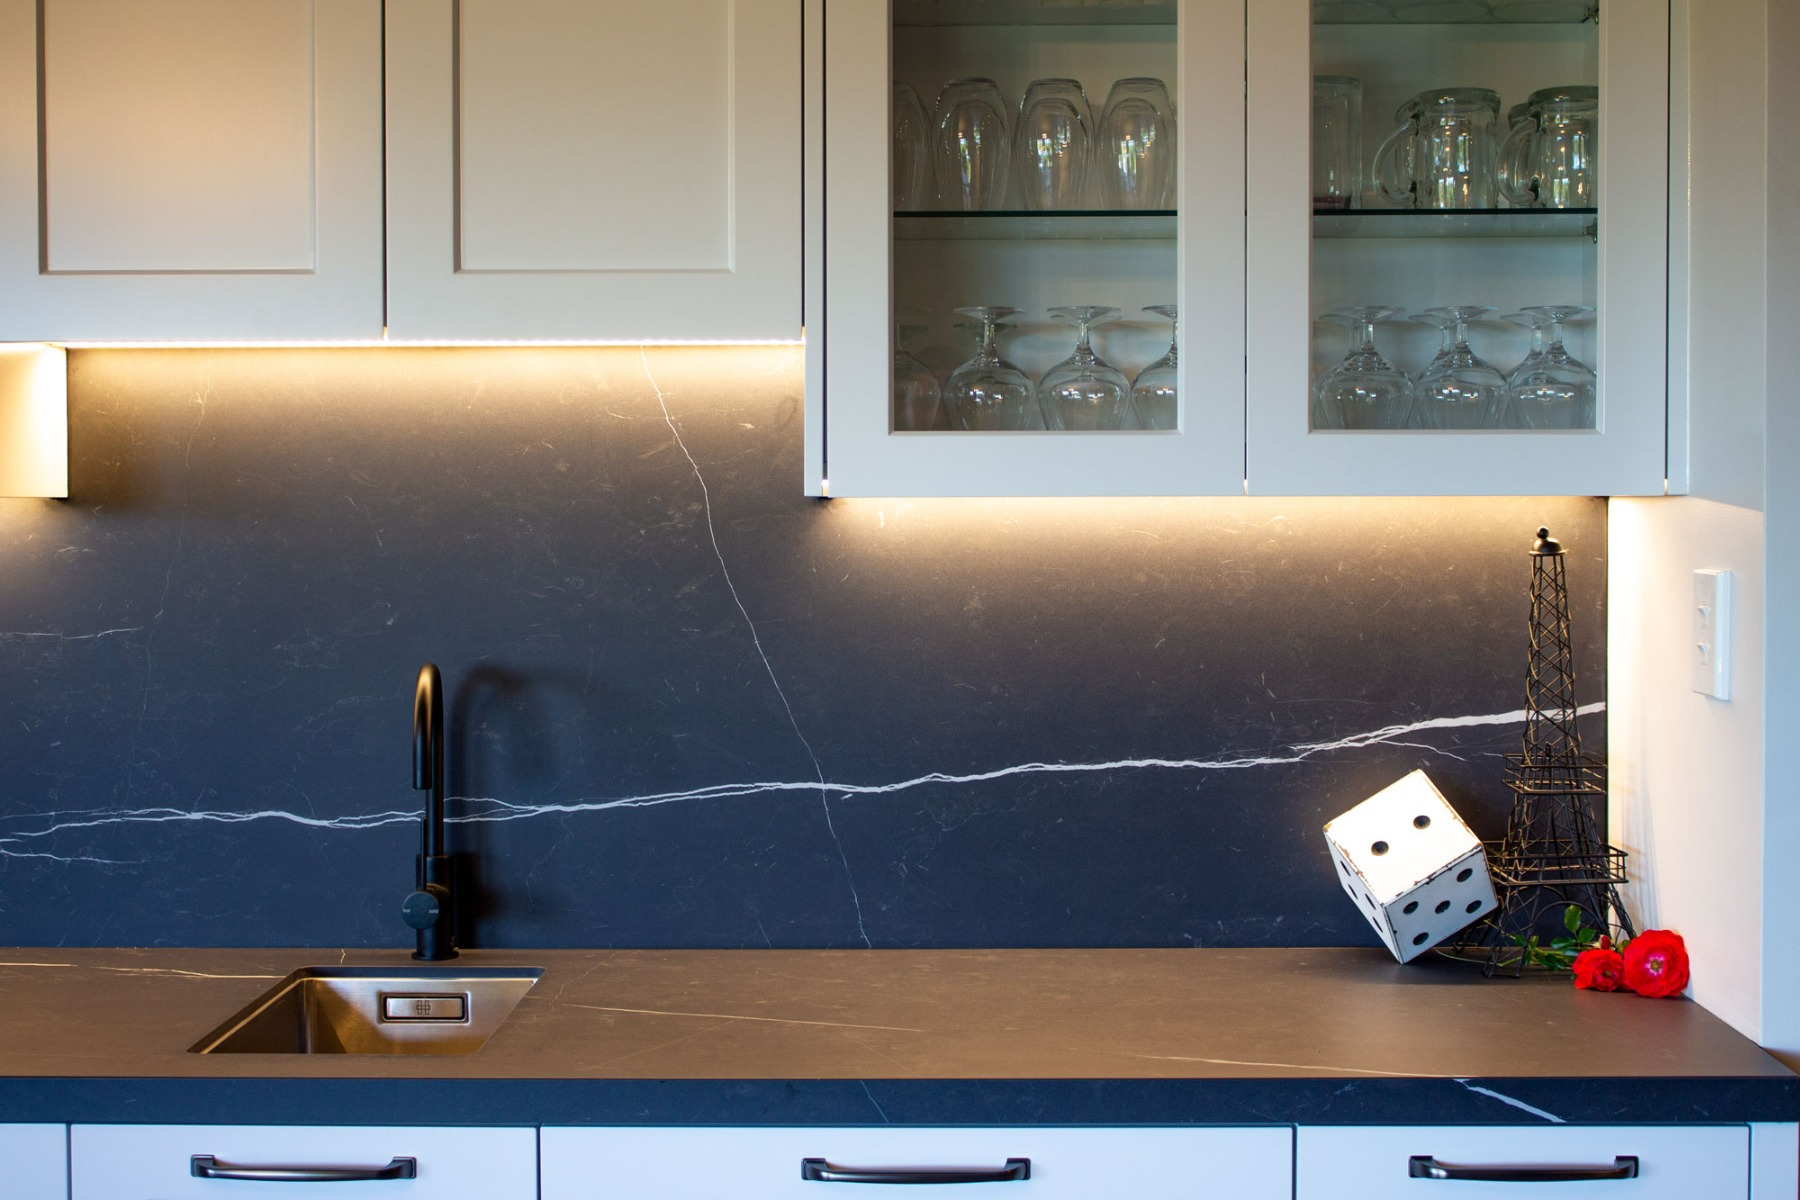
If you want to draw people into your photograph, try including just a small amount of colour. This subtle method gives your subject importance by allowing it to stand out from the rest of the frame. We also recommend working with complementary colours. Although blue and yellow reside on opposite sides of the colour wheel, they can be used together with outstanding results. On one side of the spectrum, blue is ideal for creating a quiet introspective mood. Warmer tones, however, will infuse your subject with a dynamic energy. Each is effective on its own, but when used simultaneously, the contrast will be eye-catching.
6) Be Intentional with the Photoshoot
Great photography rarely happens by accident. It’s helpful to schedule a window of time for your photoshoot. Try and slot in an hour or so of uninterrupted time so you don’t feel the need to rush. Working slowly is not a sign of an amateur, but rather a thoughtful photographer. With a date picked out on your calendar, it allows you to prepare the room with deliberate care. Put on your favourite music, embrace your creative juices, and have fun with the process. The joy you feel taking the images will come through in your images as well.
7) Helpful Features
If your camera or phone has an HDR (high dynamic range) option, turn it on. This user-friendly feature can be useful when photographing rooms with bright windows. The camera records several different exposures from the brightest highlights to the darkest shadows and everything in-between. It then quickly stacks these files into one finished image to give you a well-balanced photograph. Don’t worry, you won’t need any special software to do this. The magic all happens inside the device without any additional effort.
Share your Process
It takes time to fine-tune your eye and learn how to see photographically. Don’t get discouraged if your first few attempts don’t turn out as expected. We often set unrealistic expectations and get frustrated when it doesn’t work out. Yet as any musician will tell you, mastering an instrument takes practice. The same concept applies to a camera and photography. The more you do it, the better the results will be. We’d love to see what you end up capturing. When you share your favourites on social media, be sure to tag us. We’re on Instagram here, and Facebook as well.